Easy Guide: How To Remote To Raspberry Pi (Quick!)
Is your Raspberry Pi languishing in a corner, a silent server of untapped potential? Unleash the full power of your compact computer by mastering the art of remote access. This capability transforms your Pi from a local gadget into a readily accessible tool, enabling you to control and monitor it from virtually anywhere, anytime.
The ability to remotely access your Raspberry Pi opens up a world of possibilities. Imagine effortlessly managing your home automation system from your office, troubleshooting a project from across the country, or simply accessing files stored on your Pi without being physically present. This guide will delve into the various methods for remote access, ensuring you can connect to your Raspberry Pi securely and efficiently. Well explore the essentials, from understanding the core concepts to implementing robust security measures, ultimately empowering you to harness the full potential of your Pi.
Before diving into the technical aspects, let's clarify what "remote access" to a Raspberry Pi actually entails. Essentially, it means controlling your Pi interacting with its command line interface (CLI) or graphical user interface (GUI) from another device, such as your laptop, smartphone, or another computer, over a network connection. This connection can be established locally within your home network or, more intriguingly, from anywhere in the world with an internet connection. The methods for achieving this can range from simple and straightforward to more complex and secure, each with its own advantages and considerations.
One of the most fundamental methods for remote access is using Secure Shell (SSH). SSH provides a secure, encrypted connection to your Raspberry Pi's command line interface. It allows you to execute commands, transfer files, and manage your Pi remotely with a high level of security. This makes SSH the preferred method for many users, especially when dealing with sensitive data or managing a Pi in a remote location. Setting up SSH is relatively simple, and the benefits in terms of security and control are significant. SSH forms the bedrock of secure remote administration, and understanding its workings is essential for any Pi enthusiast looking to expand their horizons.
VNC (Virtual Network Computing) offers a graphical remote access solution. With VNC, you see the Raspberry Pi's desktop on your remote device, allowing you to interact with it as if you were sitting directly in front of it. This is a user-friendly option for those who prefer a visual interface and is particularly helpful if you need to interact with applications that have graphical interfaces. There are various VNC server options available, each with its own strengths and weaknesses. Configuring VNC involves installing and configuring a server on your Raspberry Pi and then using a VNC client on your remote device to connect. While offering a more visual experience, it's crucial to secure your VNC connection to prevent unauthorized access.
Beyond SSH and VNC, there are other options. Cloud services, for example, can be used to create secure tunnels to your Raspberry Pi, and various software solutions cater to specific user needs. Each method offers a different balance between ease of setup, security, and the overall user experience. Choosing the right method depends on your specific requirements, including the level of security you need, the complexity of your project, and your comfort level with the technical aspects of remote access.
SSH: The Gateway to Secure Remote Control
The allure of SSH lies in its simplicity and robust security. SSH provides a secure, encrypted connection to your Raspberry Pi's command line interface (CLI). This means all data transmitted between your remote device and your Pi is encrypted, making it much harder for unauthorized individuals to intercept or eavesdrop on your communications. The ability to remotely execute commands, transfer files, and manage your Pi's system is all accessible through SSH. This makes it the cornerstone of remote administration for many users.
To enable SSH, you need to perform a few straightforward steps. First, you must ensure SSH is enabled on your Raspberry Pi. This is often enabled by default in modern Raspberry Pi OS (formerly Raspbian). However, if not, you can enable it using the Raspberry Pi configuration tool. The configuration tool is accessible through the desktop environment or by using the `sudo raspi-config` command in the CLI. Within the configuration tool, navigate to the "Interface Options" and ensure SSH is enabled. Once enabled, SSH server will start automatically on boot. When you change the SSH setting you may require a restart to make sure the setting is effective.
Once SSH is enabled on the Pi, you need to determine the Pi's IP address. The IP address identifies the Pi on your network, and it is essential for connecting remotely. You can find the IP address in a couple of ways. You can look at your router's configuration interface, which typically lists all connected devices and their IP addresses. Alternatively, you can find it on the Pi itself using the `hostname -I` command in the CLI. The command will display the IP address. Once you have the IP address, you can use an SSH client to connect to your Raspberry Pi from another computer.
Connecting to your Raspberry Pi via SSH requires an SSH client. Most operating systems have built-in SSH clients or easily available options. On Linux and macOS systems, you can use the `ssh` command in the terminal. For Windows, you can use a client like PuTTY, which is a popular and free SSH client, or the built-in SSH client in the Windows Terminal. To connect using `ssh` command on your terminal, the basic syntax is `ssh pi@`, where `pi` is the default username (can be different if you changed during setup) and `` is the IP address of your Raspberry Pi. You will be prompted to enter the password of your Pi user. Once you have authenticated, you will be granted access to the CLI of your Pi.
For added security, consider changing the default password for the "pi" user. This is one of the first and most important steps to take when setting up your Raspberry Pi. A weak password or using the default password leaves your Pi vulnerable to brute-force attacks. Another security best practice is to create a separate user with administrative privileges for your day-to-day use of your Pi, and never use the default "pi" user. When you change your Pi's default password, and/or create a new user, it is recommended that you make a note of them.
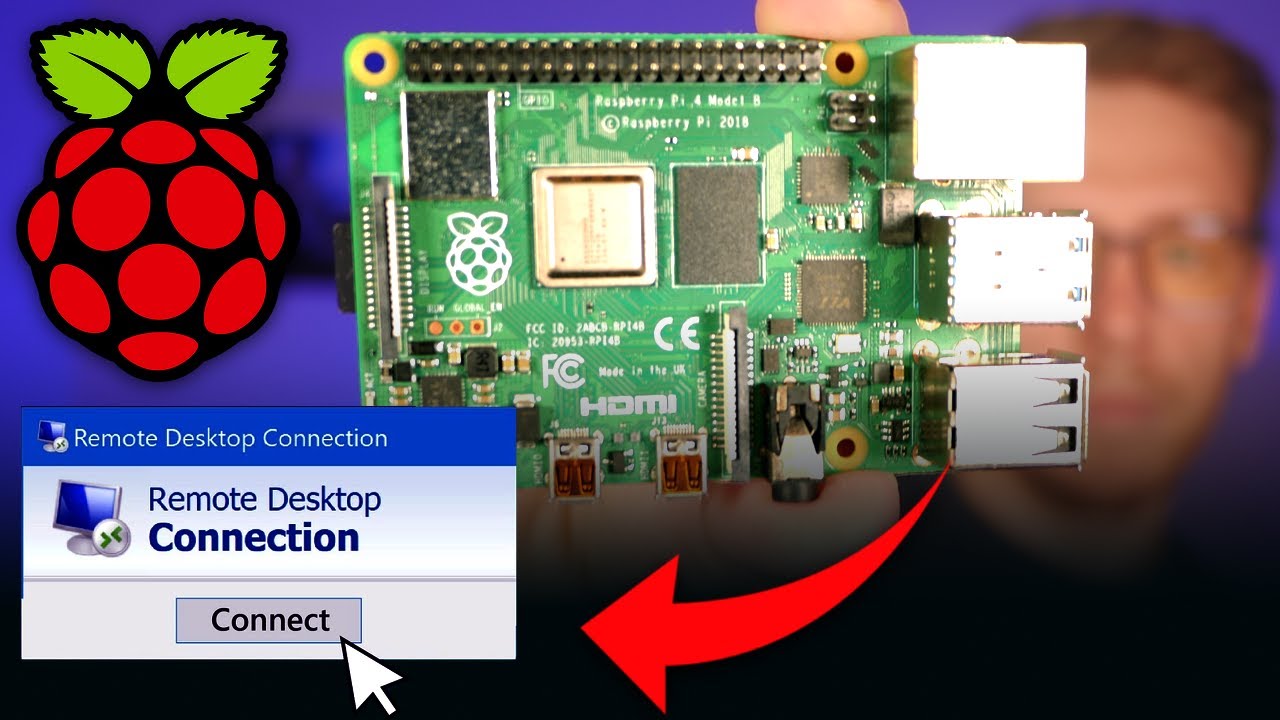
VNC: A Visual Approach to Remote Access
For those who prefer a graphical interface, VNC offers a user-friendly way to see and interact with the Raspberry Pi's desktop from a remote device. With VNC, you essentially see the Raspberry Pi's screen on your computer or mobile device, allowing you to use the applications and interact with the desktop environment as if you were sitting directly in front of the Pi. The main advantage of VNC is that the experience closely mirrors that of working locally on the Pi. This is particularly helpful if your project requires using applications with graphical user interfaces.
There are several VNC server options available for the Raspberry Pi. RealVNC is a popular choice, and it provides easy-to-use setup and robust security. TightVNC and TigerVNC are other viable options that often have a smaller resource footprint. The steps to set up VNC generally involve installing a VNC server on your Raspberry Pi and then installing a VNC client on your remote device.
To install RealVNC server, you can use the `sudo apt update` command to update your package lists, and then the `sudo apt install realvnc-vnc-server` to install the server on your Raspberry Pi. During the installation, you may be prompted to set up a password for VNC access. This password is different than the password used for SSH access. RealVNC, once installed, is usually configured via its GUI interface, or the command line. You can configure display settings, security settings, and other options to customize your VNC experience.
After installing the server, you need a VNC client on your remote device. RealVNC also provides client software for various platforms (Windows, macOS, Linux, Android, iOS). Other popular VNC clients include TightVNC viewer and UltraVNC. Install the appropriate client for your operating system. To connect, you will need the IP address of your Raspberry Pi (the same IP address used for SSH). In the VNC client, enter the IP address, and use the port (usually 5900 for the first display). Then you should be prompted to enter the VNC password you set up during the server configuration. After successful authentication, you should be able to see and interact with the Raspberry Pi's desktop.
Securing Your Remote Access
Security should be a top priority when setting up remote access. Without adequate security measures, your Raspberry Pi and the data it contains could be vulnerable to unauthorized access. This can have very serious consequences, including the compromise of sensitive data, or your network could be used for malicious activities.
Beyond the basic steps outlined above, such as changing default passwords and ensuring you are using strong passwords, there are several other steps to improve your remote access security. One crucial step is to use strong passwords, which are passwords that are difficult to guess or crack. These should be long, containing a mix of uppercase and lowercase letters, numbers, and symbols. Consider using a password manager to generate and store strong passwords.
Another crucial step is to configure your SSH server to only allow key-based authentication. This method is much more secure than using passwords, because it eliminates the vulnerability of password-based brute-force attacks. With key-based authentication, you generate a private key on your remote device and a corresponding public key on your Raspberry Pi. You then configure your SSH server to only accept connections that present the correct private key. The use of SSH keys significantly improves the security of your SSH connection.
Firewall configuration is another essential security measure. A firewall controls network traffic and allows you to restrict access to specific ports and services on your Raspberry Pi. The default configuration for many firewalls on Raspberry Pi OS often allows all inbound connections, and this is generally not ideal for security. Configure your firewall, such as `ufw` (Uncomplicated Firewall), to only allow connections on the necessary ports. For instance, if you use SSH, you would allow incoming connections on port 22. If you are using VNC, you would allow connections on port 5900 (or whichever port you configured).
Regularly update your Raspberry Pi's operating system and all installed software. Software updates often include security patches that address known vulnerabilities. By keeping your system up to date, you reduce the risk of your Pi being compromised by known exploits. You can update your system using the `sudo apt update` command followed by the `sudo apt upgrade` command. You should implement the `apt autoremove` command regularly to remove obsolete packages.
Port Forwarding and Dynamic DNS
If you want to access your Raspberry Pi from outside your local network (e.g., from the internet), you will need to configure port forwarding on your router. Your router acts as a gateway between your local network and the internet. Port forwarding allows you to direct incoming traffic from the internet to the appropriate device (your Raspberry Pi) on your local network. The port forwarding setup varies depending on the make and model of your router. However, you typically access your router's configuration interface through your web browser, and navigate to a section related to port forwarding or virtual servers. You will need to specify the port numbers you are using (e.g., port 22 for SSH or port 5900 for VNC), and the local IP address of your Raspberry Pi.
Your home's public IP address, assigned by your internet service provider (ISP), may change periodically. This is where a Dynamic DNS (DDNS) service comes in. A DDNS service provides you with a consistent domain name that always points to your current public IP address. When your IP address changes, the DDNS service automatically updates the DNS record so that your domain name continues to resolve to the correct IP address. Setting up DDNS involves signing up for a DDNS provider (e.g., No-IP, DynDNS, DuckDNS). Each provider has its own setup instructions, which will typically involve installing a client on your Raspberry Pi that updates the DNS record regularly. Once you have set up DDNS, you can use your chosen domain name instead of the IP address when connecting to your Raspberry Pi remotely. This makes it easier to connect to your Raspberry Pi, as you won't need to constantly check and update the IP address.
Additional Considerations and Troubleshooting
Once you establish remote access, there are several additional considerations to enhance your experience. Bandwidth is a significant factor that can affect the performance of your remote connection. A high bandwidth connection on both your Raspberry Pi's end and on the remote access client is important for smooth performance, especially when using VNC or transferring large files. If your remote connection feels sluggish, check your internet speed on both ends of the connection. Using a wired Ethernet connection instead of Wi-Fi can often improve speed and reliability.
Another factor is the latency or the delay in your remote connection. Latency is the time it takes for a data packet to travel from your remote device to your Raspberry Pi and back. If you are connecting from a distant location, latency can be a problem. Several solutions are available to you, such as using a faster internet connection, or optimizing your network configuration for remote access. Choose a remote access method that minimizes latency to the greatest extent possible.
Troubleshooting remote access issues often begins with checking the basics. Ensure your Raspberry Pi is powered on and connected to the network. Verify that you have entered the correct IP address, username, and password when attempting to connect. Also, check your router's configuration to ensure port forwarding, if applicable, is set up correctly. If you are using SSH, confirm that the SSH server is running on your Raspberry Pi. If you are using VNC, verify the VNC server is running and that the correct VNC port is specified in the client configuration.
Network connectivity problems are a common cause of remote access issues. Try pinging your Raspberry Pi's IP address from your remote device to check if the network connection is working. If the ping fails, then there may be a problem with your network connection. Consider troubleshooting your network connection, and make sure that all network cables are properly connected, and that your network devices are working correctly. Check your firewall settings on both your Raspberry Pi and your remote device. Make sure that the ports necessary for remote access are open.
If you've forgotten your Raspberry Pi's password, you can reset it. Access your Raspberry Pi directly (e.g., by connecting a monitor, keyboard, and mouse). If you can't access the desktop, boot into recovery mode. From the recovery mode, you can reset the password. Then reboot the device. You should be able to gain access to your Raspberry Pi using the new password.
Conclusion
Remote access to your Raspberry Pi unlocks a universe of possibilities, making it a powerful tool for both personal and professional use. By mastering SSH and VNC, implementing security measures, and understanding port forwarding and Dynamic DNS, you can securely and effectively control your Pi from anywhere. The techniques outlined in this guide empower you to harness the full potential of your Raspberry Pi and enjoy the convenience and flexibility of remote access.


